| 1. Click
the "Create New Device" button:

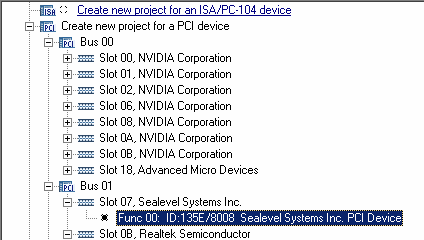
2. Select your PCI device from the list:

Caution: Do not select any system device
like a video adapter or a network card! The device or even whole
system may stop functioning!
3. Enter the Device Project Name:

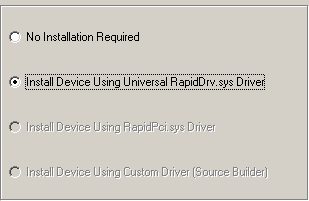
4. Select the "Install Device Using ..." option then
click the "Finish" button:

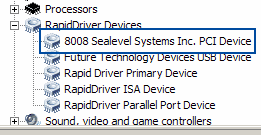
5. Run the Device Manager to make sure that your device was installed
properly:

Note: You can run Device Manager directly from GUI:

6. Play with the device from GUI
Screenshot: PCI Header Fields
Screenshot: Command and Status PCI Registers
Screenshot: PCI BARs
Screenshot: PCI Interrupts
7. Select an example that is written in your preferred programming
language (not applicable for RD Explorer edition)
7.1. Select the "Examples | Run Example" main menu
item or click the following toolbar button:
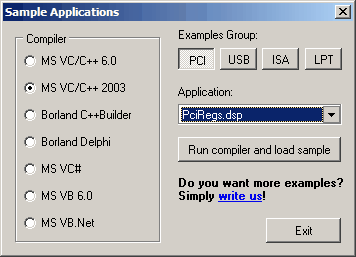
7.2. Select your compiler, "PCI" group, then click
the "Run Compiler and load sample" button.

Note: you must keep RapidDriver running
in background while you are working with the demo version!
|


